Retaining walls are essential structures that prevent soil erosion and manage ground slopes in landscaping projects. Whether you’re looking to enhance your garden’s appearance or reinforce a slope, building a retaining wall with bricks can be both functional and visually appealing. Venald provides expert guidance on how to construct a durable and attractive retaining wall using bricks. In this guide, we’ll walk you through the process, ensuring that your project stands the test of time.
1. Planning Your Retaining Walls
Before laying a single brick, careful planning is crucial. Determine the location, size, and purpose of your retaining wall. Depending on the height and load the wall will bear, you may need council approval or engineering certification. For smaller projects, this may not be required, but larger walls over 600mm often need professional input. Venald offers consultation services to help you navigate local building regulations.
Key Planning Considerations:
- Purpose of the Wall: Is it for decorative purposes or to hold back a significant load of soil?
- Height and Length: Higher walls may require drainage systems and structural support.
- Material Selection: Choose high-quality bricks designed for outdoor use and capable of withstanding various weather conditions.
2. Preparing the Site
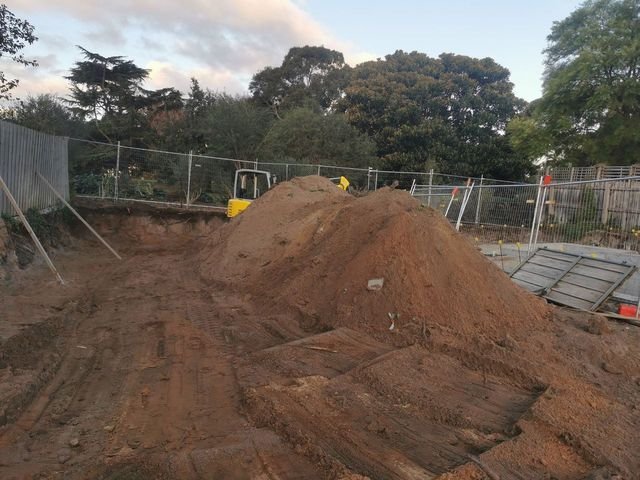
The foundation is the most important part of any retaining walls. To begin, clear the area of debris, grass, and loose soil. Excavate the site to create a trench where the foundation will go. This trench should be deep enough to support the weight of the wall. Typically, a depth of 150mm to 300mm is recommended.

Steps for Site Preparation:
- Mark the Area: Use string lines and stakes to mark the boundaries of your wall.
- Excavate the Foundation: Dig a trench that’s at least 300mm wider than the thickness of the wall.
- Add a Gravel Base: A gravel base of 50mm to 100mm ensures proper drainage and provides a stable foundation for the bricks.
3. Laying the Bricks
Once the site is prepared, you can start laying the bricks. Begin by laying the first course of bricks directly onto the gravel base. Ensure they are level by using a spirit level to check alignment after placing each brick. To add strength, stagger the bricks in a “running bond” pattern where each brick is offset by half a brick length from the one below it.
Laying Techniques:
- Use Mortar: Apply mortar to each brick, ensuring they stick firmly. The mortar acts as both a binding agent and sealant.
- Check Levels Frequently: Regularly check the levels of the bricks to avoid unevenness in the final wall.
- Add Weep Holes: Every few bricks, leave a gap for drainage to prevent water buildup behind the wall.
4. Backfilling and Drainage
To ensure your retaining wall remains stable over time, proper drainage is critical. After laying each course of bricks, backfill the area behind the wall with gravel or crushed rock to promote water drainage. Poor drainage can lead to pressure build-up behind the wall, eventually causing it to crack or collapse.
Steps for Proper Drainage:
- Install Drainage Pipes: For larger walls, installing a perforated drainage pipe along the base of the wall can help redirect water.
- Use Gravel or Aggregate: Backfill the wall with gravel up to the top of the wall to promote water flow.
- Add Geotextile Fabric: Placing geotextile fabric between the soil and gravel helps prevent soil from clogging the drainage system.
5. Finishing Touches
After the retaining walls have been built and backfilled, add finishing touches to enhance its aesthetic appeal and functionality. You can cap the top of the wall with brick or stone to create a polished look. Additionally, you can plant vegetation along the top and sides to integrate the wall into the landscape.
Finishing Tips:
- Cap Stones: Adding capstones or decorative bricks along the top can provide a neat finish and additional protection.
- Seal the Bricks: Sealing the bricks with a weather-resistant product will protect them from moisture damage and improve longevity.
6. Maintenance Tips for Long-Lasting Retaining Walls
To ensure the long-term durability of your brick retaining wall, regular maintenance is important. Inspect the wall periodically for cracks or signs of water damage, and repair any issues promptly. Cleaning the wall regularly and reapplying sealant can also help prolong its lifespan.
Maintenance Checklist for Retaining walls
- Check for Cracks: Address any cracks immediately to prevent further damage.
- Clean and Reseal: Keep the wall clean by power washing it and resealing it every few years.
- Monitor Drainage: Ensure that the drainage system is functioning properly to avoid water pressure buildup.
Conclusion: Building Retaining Walls with Bricks
Building a brick retaining walls are rewarding project that can greatly enhance the look and functionality of your outdoor space. By following these steps and using high-quality materials, you can create a wall that will last for years to come. Venald offers expert services to ensure that your retaining wall is built to meet both aesthetic and structural needs, providing you with a solution that blends seamlessly into your landscape.
